
Are you a fan of Disney’s beloved character, Stitch, from “Lilo & Stitch”? Have you ever wanted to bring this adorable, mischievous alien to life on paper? Whether you’re a seasoned artist or a beginner, this guide will help you draw Stitch with ease. By breaking down the process into simple steps and providing helpful tips, you’ll be able to create your own Stitch masterpiece in no time!
Introduction to Drawing Stitch
Stitch, also known as Experiment 626, is a popular character known for his unique appearance and endearing personality. Drawing Stitch can be a fun and rewarding experience, but it requires attention to detail to capture his quirky characteristics. Before we dive into the step-by-step guide, let’s gather the necessary materials and understand the basic shapes that make up Stitch.
Materials Needed
- Pencil
- Eraser
- Drawing paper
- Colored pencils or markers (optional for coloring)
Understanding Stitch’s Basic Shapes
Stitch’s body can be broken down into simple shapes. His head is a large oval, while his body is a smaller oval. His ears are large and floppy, resembling the shape of a leaf or a long oval. Keep these shapes in mind as they will serve as the foundation for our drawing.
Step-by-Step Guide to Drawing Stitch
Step 1: Draw the Head
- Start by drawing a large oval for Stitch’s head.
- Inside the oval, draw two smaller ovals for his eyes.
- Add two tiny circles inside each eye for the pupils.
Step 2: Sketch the Body
- Below the head, draw a smaller oval for the body.
- Ensure the body is proportionate to the head.
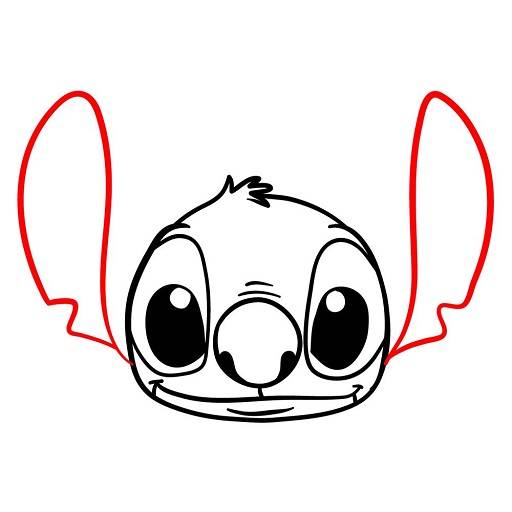
Step 3: Add the Ears
- Draw two large, leaf-shaped ears extending from the top of the head.
- The ears should be almost as long as the body.
Step 4: Facial Features
- Inside the head, sketch Stitch’s nose, which resembles an upside-down heart.
- Draw a wide, mischievous smile below the nose.
- Add two small circles on either side of the smile for his cheek markings.
Step 5: Limbs and Tail
- Draw Stitch’s arms and legs. They are short and stubby, with three fingers and toes.
- Sketch a small, curved tail at the back of the body.
Step 6: Detailing
- Add the details to the ears, with lines to represent the inner ear texture.
- Outline the eyes, adding eyebrows for expression.
Step 7: Final Touches
- Erase any unnecessary guidelines.
- Go over the drawing with a darker pencil or ink to finalize the lines.
Step 8: Coloring (Optional)
- Color your drawing using colored pencils or markers.
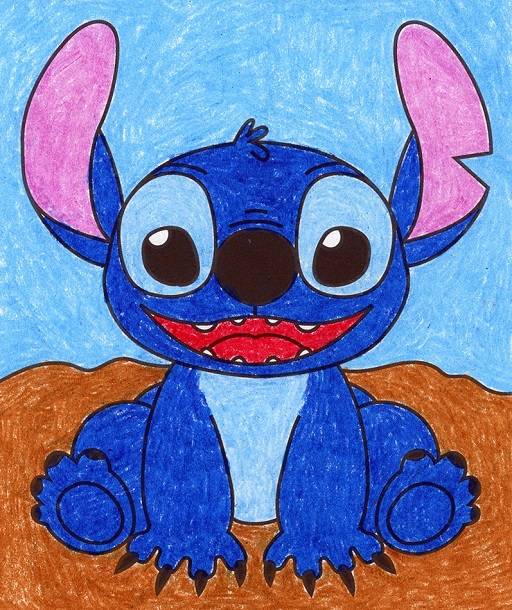
- Stitch is primarily blue, with a lighter blue for his belly and around his eyes.
Tips for Perfecting Your Stitch Drawing
- Use Light Strokes: Start with light pencil strokes. This makes it easier to erase and make adjustments.
- Proportions: Pay close attention to the proportions of Stitch’s features.
- Expression: Stitch is known for his wide range of expressions. Experiment with different facial expressions to bring your drawing to life.
- Practice: Don’t be discouraged if it doesn’t come out perfect on the first try. Practice is key!
Drawing Stitch is a delightful activity for fans of all ages. By following these steps and tips, you can create an adorable representation of this beloved character. Remember, the key to any great drawing is patience and practice. Share your creation with friends, or use it to add a touch of Disney magic to your space. Happy drawing!