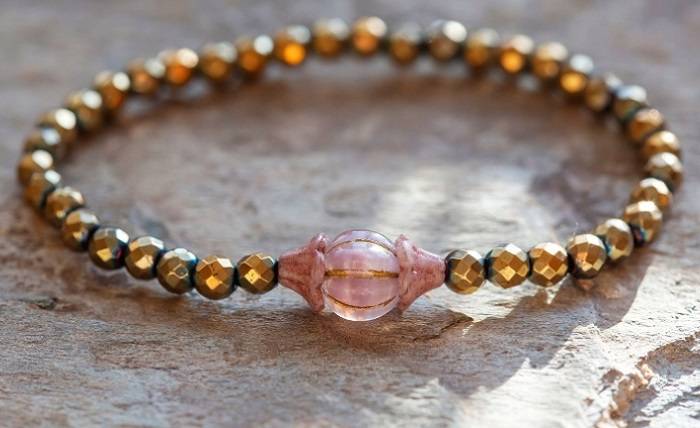
Are you passionate about making beaded bracelets but struggle with giving them a polished and professional finish? Look no further! In this comprehensive guide, we’ll explore step-by-step techniques on how to finish your beaded bracelets with professional clasps. Whether you’re a beginner or an experienced crafter, mastering these methods will take your bracelet-making skills to the next level. Discover the art of knotting, crimping, and adding clasps to create stunning bracelets that are not only beautiful but also durable. Let’s dive in and transform your handmade bracelets into stylish accessories!
Most Common Ways to Close a Bracelet
Let’s explore a variety of techniques to achieve professional closures that elevate the look of your beaded bracelets:
-
Basic Knot Finish without A Clasp
The simplest method of finishing a beaded bracelet is by tying a basic knot. To achieve this, cross the right cord over the left and then the left over the right. Secure the knot with a dot of super glue and trim the excess string near the knot. This method is quick and easy but may not be as durable or professional-looking as other options.
-
Surgeon’s Knot Finish
For a more secure finish, try the surgeon’s knot technique. Begin by tying a basic knot, but instead of pulling it tight, loop the right cord over the left again and then pull tight. This double knot is stronger and less likely to come undone. To conceal the knot, slide a larger bead or a bead cap over it, creating a seamless look.
-
Clasp with Clamshell Covers
For a professional touch, consider using a clasp with clamshell covers. Thread a clamshell cover onto one end of the bracelet and tie a knot around the cord. Slide the clamshell cover over the knot and close it with pliers. Attach a jump ring and clasp to the clamshell loop for a secure and elegant closure.
-
Crimp Bead Cover Finish
Another popular method is to use a crimp bead cover. First, tie a basic knot using the first method above at the end of your bracelet. Then, slide a crimp cover over the knot and use pliers to close the cover, securing the knot inside. Trim the excess cord ends against the cover for a neat finish.
-
Crimp Bead with Jump Ring and Clasp
Another professional option is to use crimp beads with jump rings and a clasp. Thread a crimp bead and a jump ring onto one end of the bracelet. Pass the cord back through the crimp bead and use pliers to flatten the bead, securing the jump ring in place. Repeat the process on the other end with a crimp bead, clasp, and jump ring.
-
Adjustable Bracelet Closure
For those who prefer an adjustable fit, create an adjustable closure using square knots. Make basic knots around the bracelet ends to secure the strings, leaving enough length for adjustment. Use a dab of glue to secure the knots and trim any excess cords for a neat finish.
Conclusion
Finishing a beaded bracelet with a professional clasp is the final touch that takes your creation from a simple accessory to a polished and wearable piece of jewelry art. Whether you prefer the simplicity of a basic knot or the sophistication of a clasp with clamshell covers, mastering these techniques will elevate your beadwork and ensure that your beaded bracelets are both beautiful and functional. Experiment with different methods to find the one that best suits your style and skill level, and enjoy the satisfaction of creating a bracelet that looks as stunning as it feels to wear.

